Part 1A - Creating the first page
Part 1B - Completing the design
Part 2 - Cutting the Chipboard <----You are here
Coming soon:
Part 3 - Cutting papers and embellishments
Part 4 - Putting it all together
 |
| My "James" book cut out of chipboard. |
You will need:
- Sure Cuts A Lot
- Project File (we made this is the previous posts)
- Cricut - connected to the computer.
- Chipboard
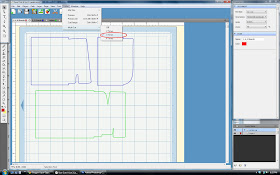
Last time we set up your project in SCAL so that it was ready to go. To cut your chipboard you will need to
- Cut your chipboard to the right size. I like to reuse old boxes for this. Cereal boxes work great!
- Load it up on your mat and then into the Cricut.
- I use the following settings - Blade: 6, Speed: 3, Pressure: 5.
- In SCAL set the cutter to "Multi-cut" 3 times.
- Select "cut" at the top of the screen. (The scissors)
- Be amazed at the results! I had to set mine up in two different "pages" in SCAL and cut it in two different sets. You may also have to do that depending on the size of your pages. Check out the last post if you need help with setting it up.
 |
| click image to see larger. |
 |
| Each page of my "James" Book. |
 |
| The back side of each page. Cereal boxes = cheap! |
Next time we'll talk about cutting the papers to cover this chipboard and any embellishments we'll be using. Come on back!


No comments:
Post a Comment