Getting Ben ready for "
pre-pre-school", means making him an art apron.
Oh, how adorable!
Best part - cheap and washable! Here's how.
First, download the pattern. Print this out on cardstock and cut it out.
Materials Needed:
- 1 tea towel.
- bias binding, ribbon, rope, whatever you want to tie it on with.
- Any additional embellishments. Again, ribbons, appliques, bows, flowers, etc.
Tools Needed:
- Scissors
- Ruler
- Sewing Machine
- Safety Pin
- Pencil or Fabric Pen
Instructions:
Basic Apron Shape
First print off the template for the "arm holes". I've included both an adult and child size. Choose your size.
Use the template to trace and then cut off the two top corners of the apron (shorter width across the top). Flip the template over to cut the left side.
Note: the tea towels aren't perfectly square...so what...neither are we. Just fudge it a bit.
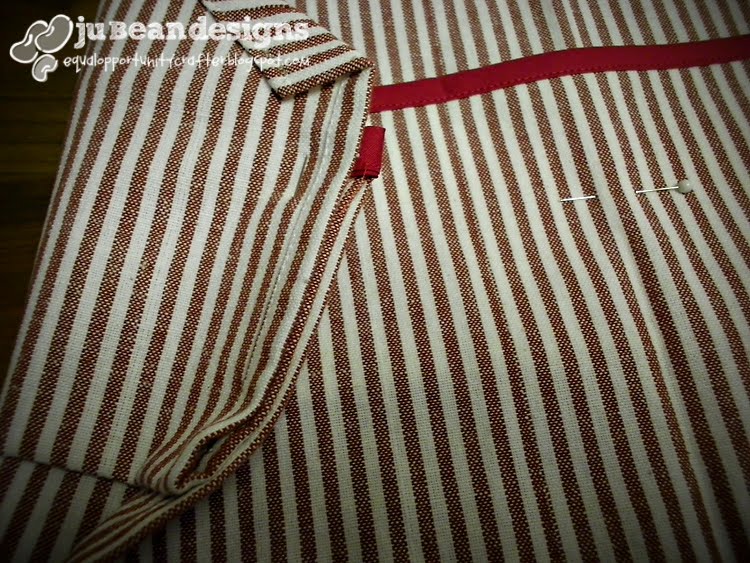
Now, press this cut edge under about 1/4 inch. Again, don't freak out about being exact...this is an apron...it will get messy. Besides, the pattern on the towel hides a lot of sins. :)
Press the edge under again about 3/4 inch. This will make the casing for the ties. If you want to use a thicker ribbon you may consider making this second fold a bit larger...or let the ribbon bunch in the casing...either way, super cute!
Do this to both "arm holes". Watch your fingers and the hot iron...I like to use steam to really press it good.
Sew close to the edge of your casing. I like to sew from the wrong side (inside) so I can see the edge. I also like to back-stitch at the top and bottom.
Kid's Size Apron
(the adult size is the full length of the tea towel - skip to making the ties)
To make the pocket: Fold the towel up 9" from the bottom. You may wish to decorate this edge with ribbon or ric-rac or whatever. I just used some store bought bias tape.
Once you've decorated your edge, fold it up again (toward the armholes) to create pockets about 4" deep.
Now you will sew your pocket down. Decide how wide you want your pockets and sew a straight stitch through all the layers, back stitch at the beginning and end. I also sewed right near the left and right edges of the apron. you may wish to just follow the hem line. My sewing lines are below in pink.
At this point you could also add appliqué to the top part or some cute ribbon or trim to the bottom edge. I'm making this for a boy so I didn't use any frills.
Making the Ties (for kids and adults)
I used store bought bias tape. Cut about 84" of bias binding and sew along the open edge. If you are using ribbon, you won't need to sew it.
Thread through the casing (using a safety pin) leaving a loop at the top for the neck. I tied the ends of my ties, but you could hem them. I figure, it's a boy's apron and the fraying would be okay.
Enjoy!
♥ Julliana


No comments:
Post a Comment